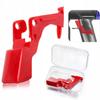
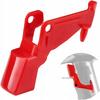
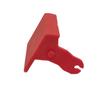
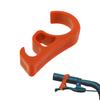
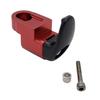
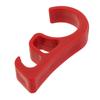
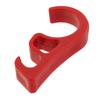
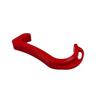
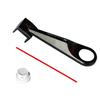
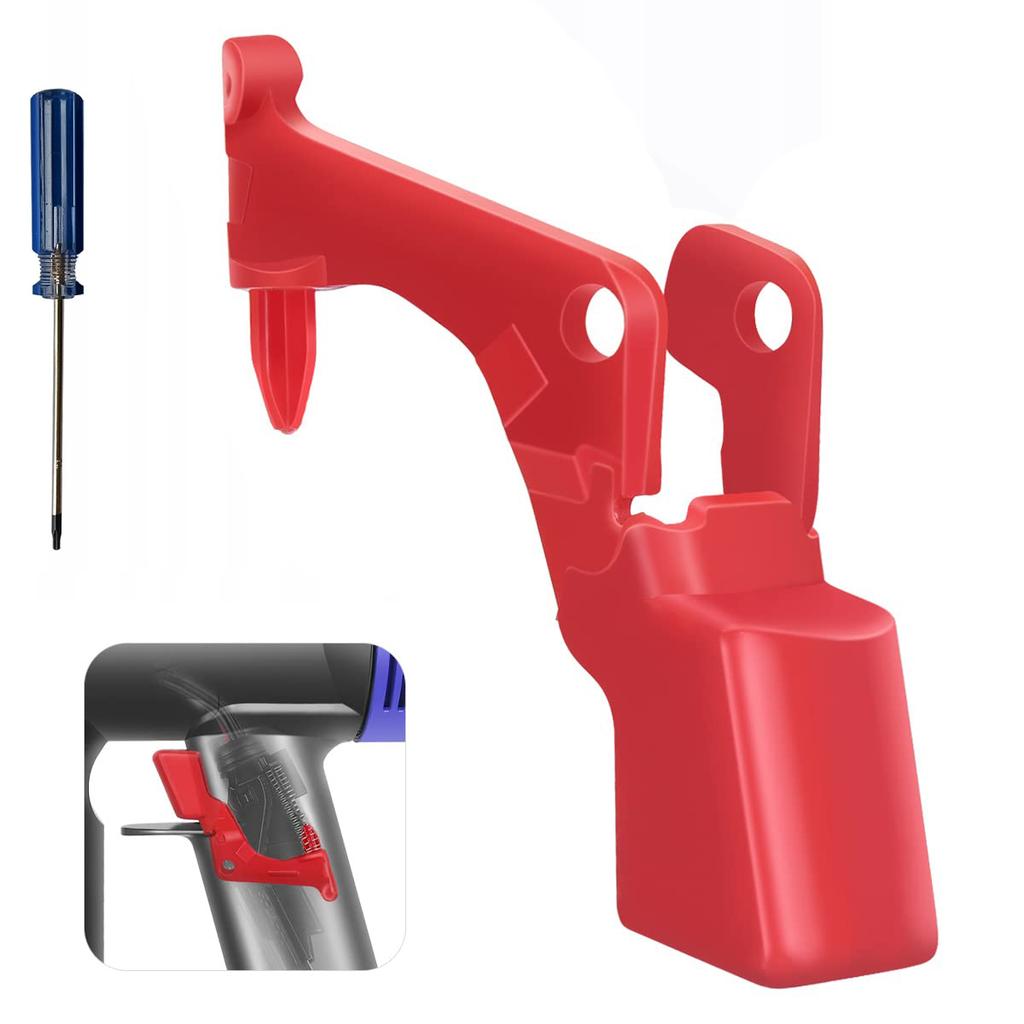
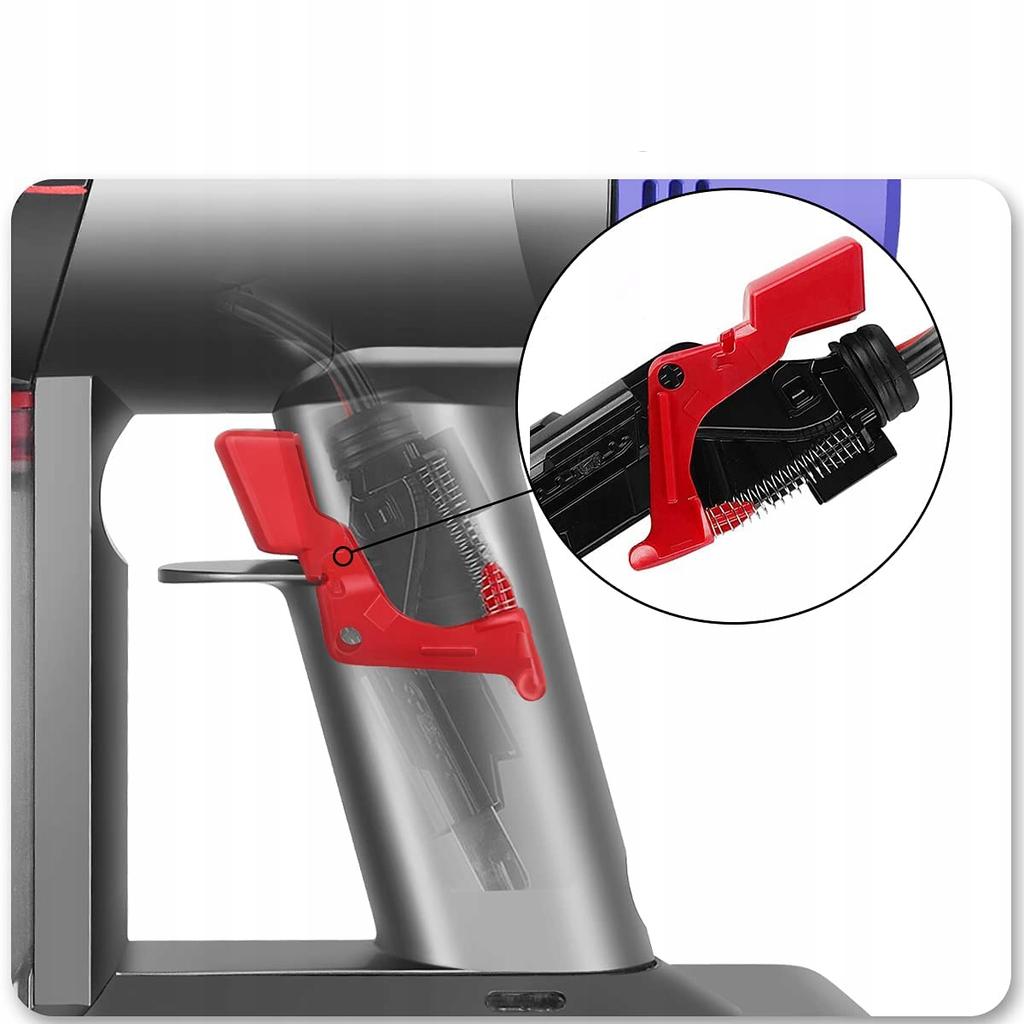
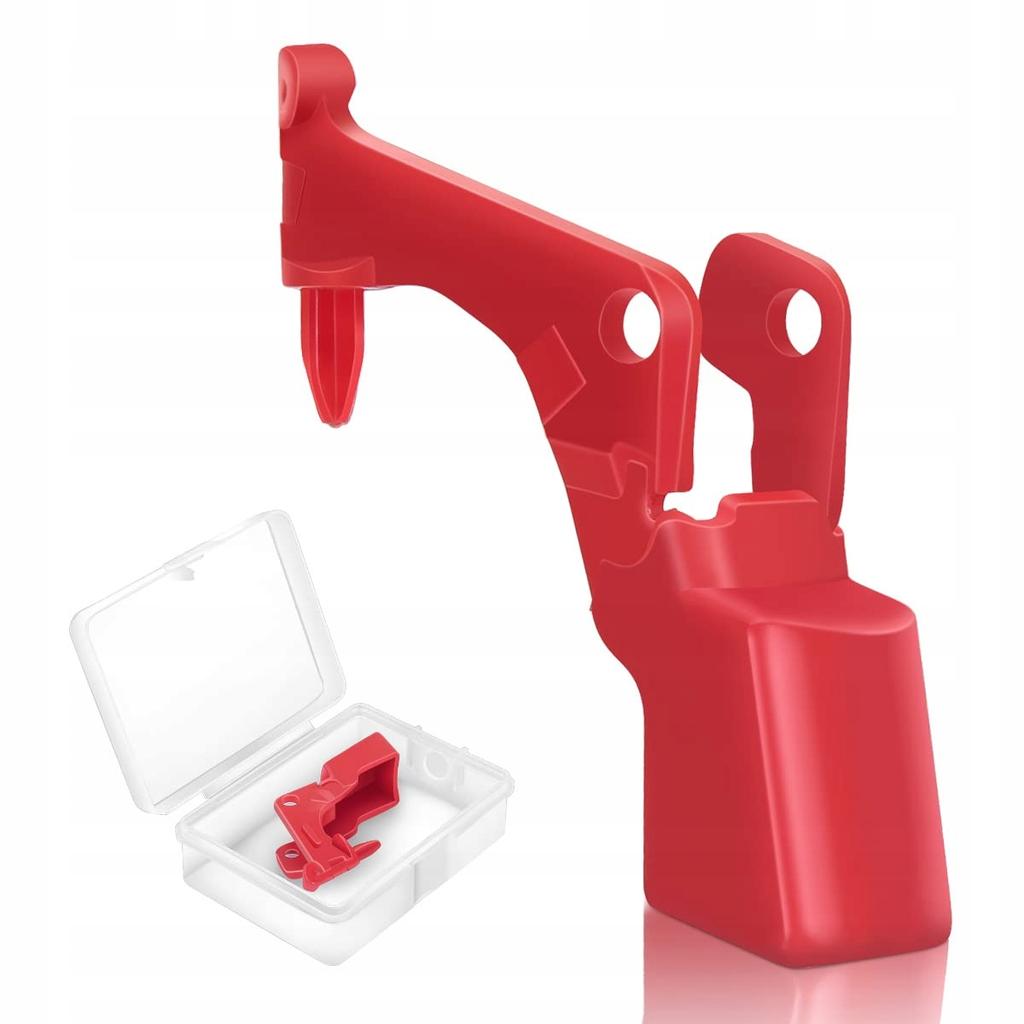
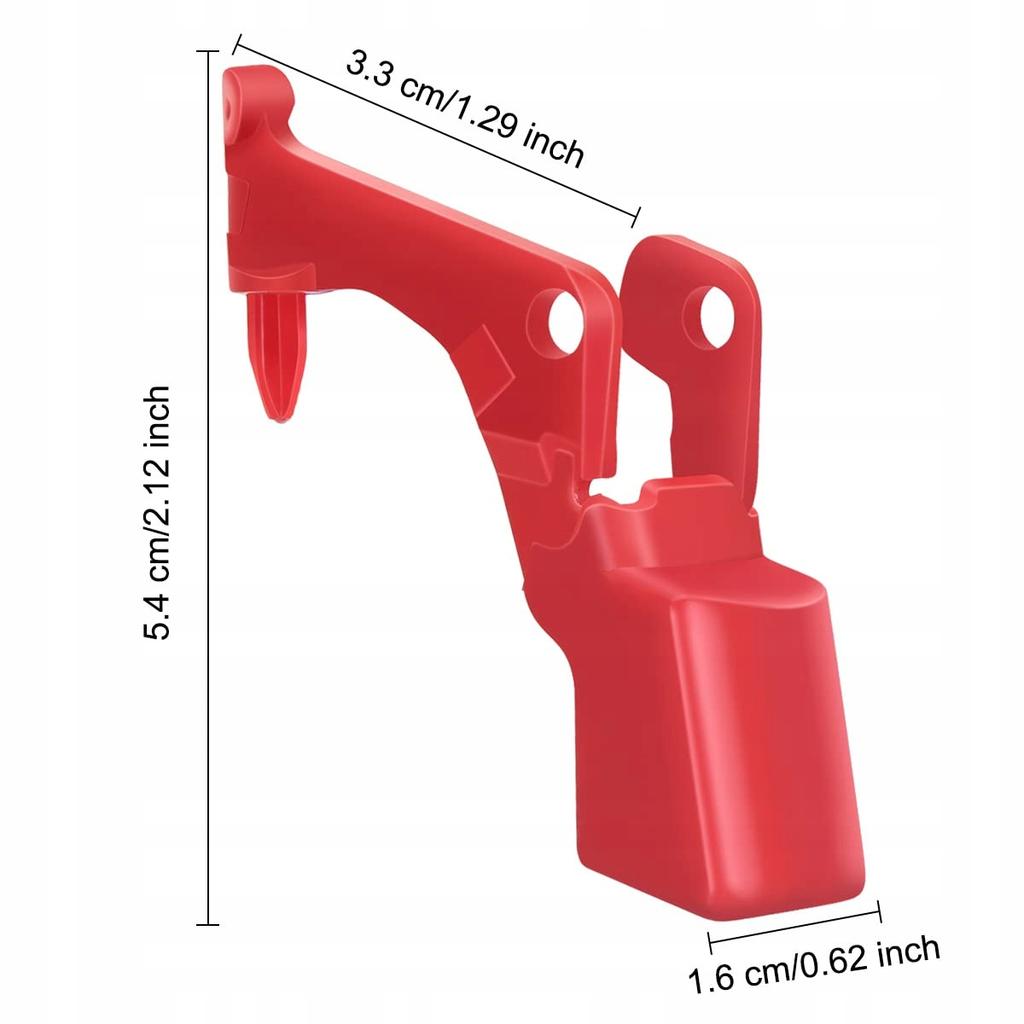
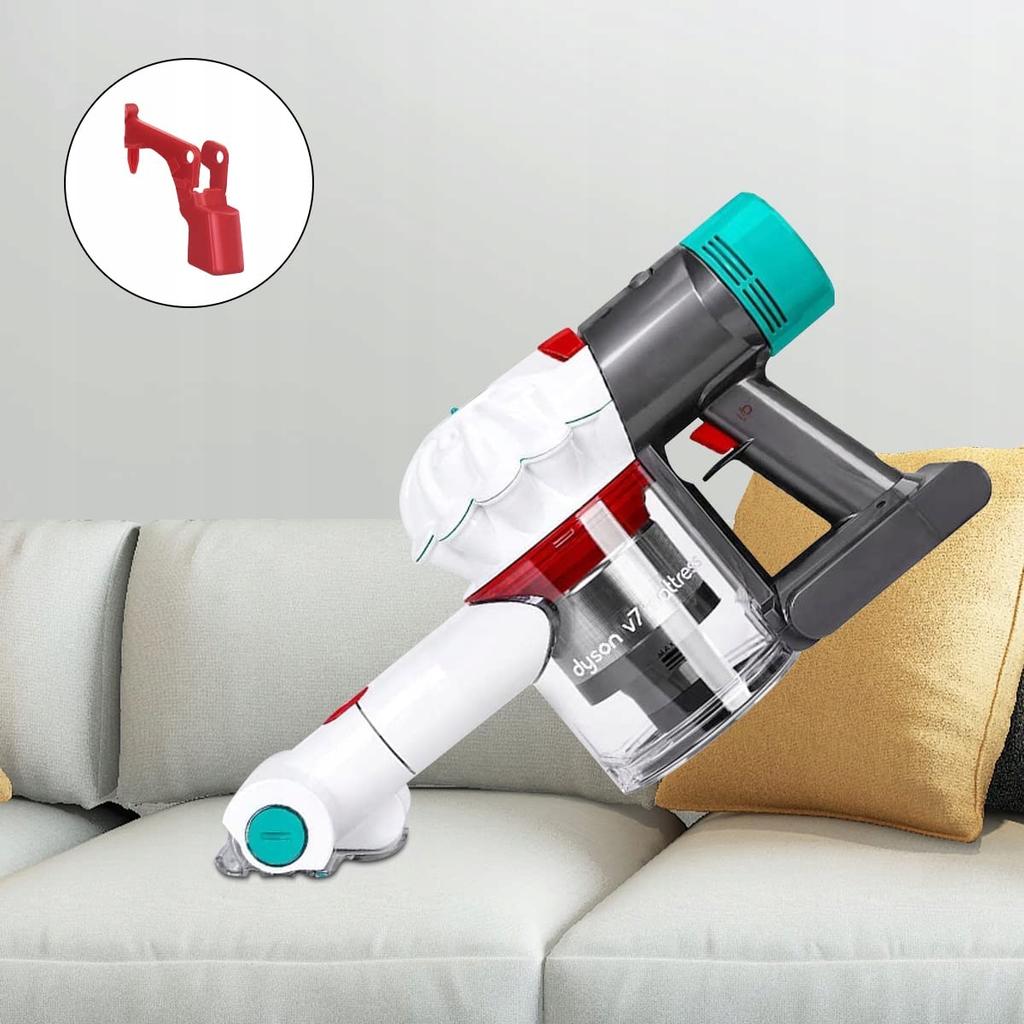
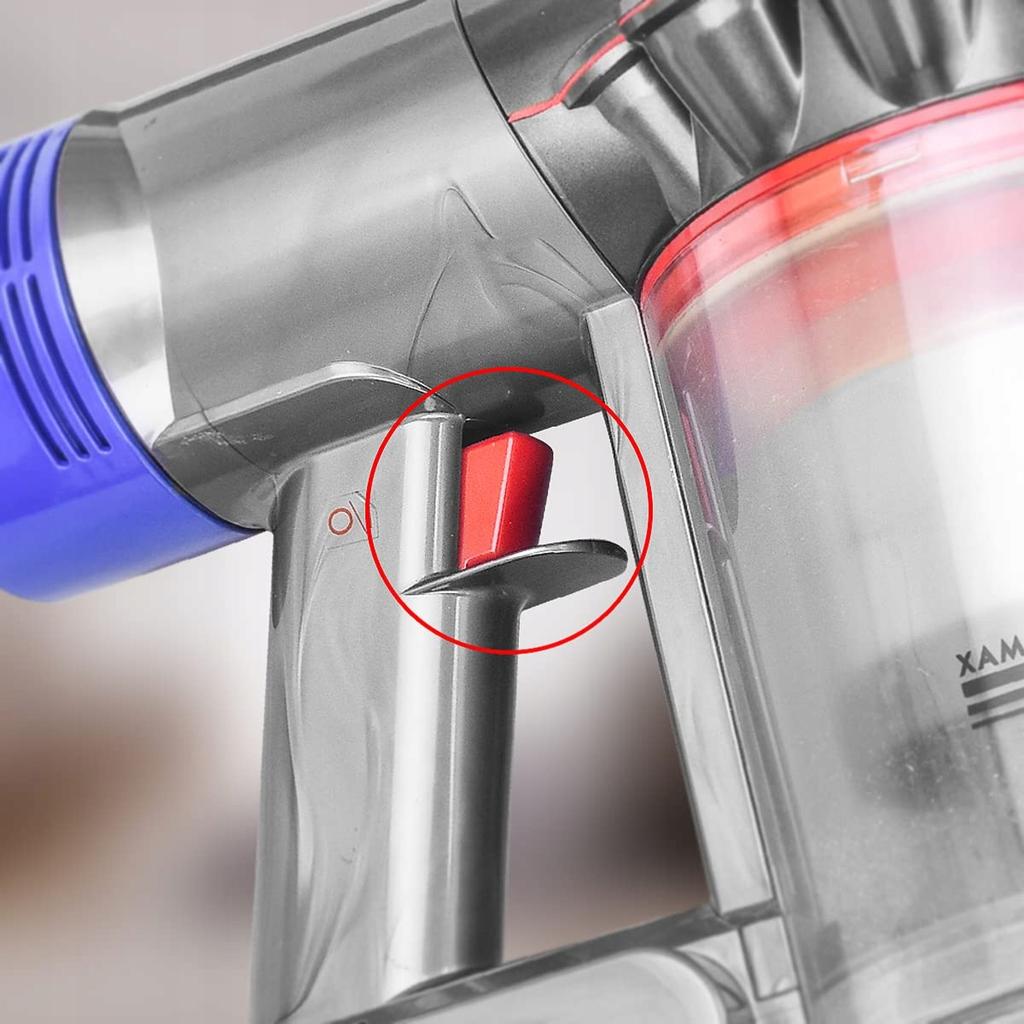
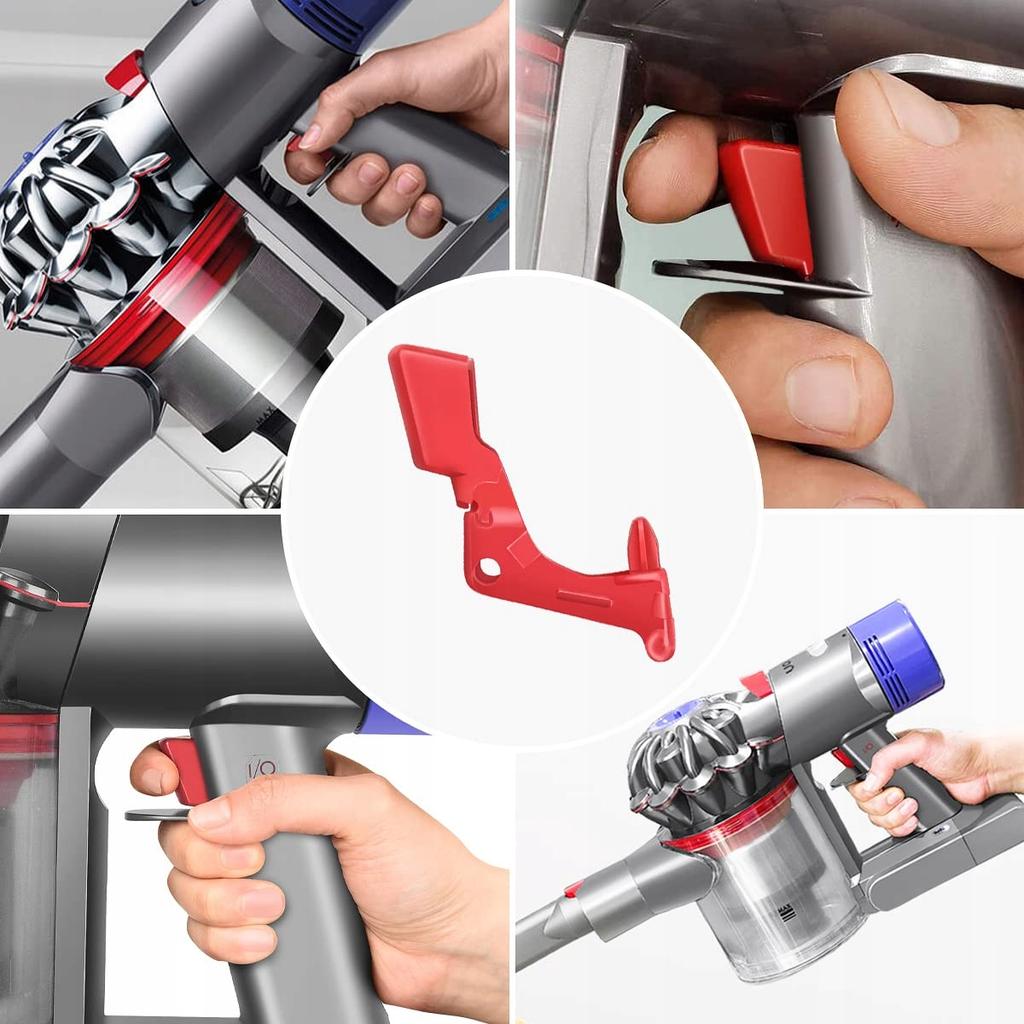
PowerFix Trigger V-Red – Reinforced Trigger Button for Dyson | V10 | V11 | SV12 | SV14 | Red | With TORX Screwdriver If you're having trouble starting your Dyson vacuum cleaner, the cause is often a damaged or broken switch. This button is a high-quality replacement that eliminates this problem and allows you to restore your device to full working order. Reinforced Construction The button is made of durable plastic, significantly reinforced in the area most frequently damaged in the original versions. This provides significantly greater durability and a longer lifespan. Compatibility with many models This product is fully compatible with Dyson V10, V11, SV12 and SV14 series vacuum cleaners. Before purchasing, please ensure that your device model is on the compatibility list. This is not 3D printed The element is made using injection molding, which guarantees accuracy, a high-quality finish, and better durability than 3D printed versions. Easy assembly The set includes a precision TORX screwdriver that allows for quick and easy replacement of any damaged element without having to interfere with the device's electronics. Service kit In addition to the button, the package also includes an aesthetic protective box and a TORX screwdriver, which will also be useful for later servicing of the vacuum cleaner and its accessories. Technical specifications: Type: button/switch for Dyson vacuum cleaner Compatibility: Dyson V10, V11, SV12, SV14 Material: plastic (injection molded, not 3D printed) Color: red Dimensions: 5.4 cm x 3.3 cm x 1.6 cm Set includes: button, TORX screwdriver, protective box Assembly: quick, without need to disassemble electronic components Application: replacing a damaged button / trigger Instructions for replacing the button on Dyson V10/V11/SV12/SV14 vacuum cleaners Step 1 – Disconnect the power supply Remove the battery before starting work. Before disassembling any part, be sure to disconnect the battery. Leaving the battery in may cause a short circuit and damage the main motor. Step 2 – Loosen the screws Tighten and loosen the screws firmly. Use the TORX screwdriver (included) to press firmly against the screws – especially those near the cyclone assembly – to prevent them from slipping or damaging. Step 3 – Be careful with the cable (V11) For the Dyson V11 model, DO NOT remove the cable. For the V10 model, the cable should be disconnected, but for the V11, it remains intact. This speeds up assembly and helps avoid errors. Step 4 – Shape of the metal clip Note the original shape of the metal clip. During disassembly, it may be necessary to slightly flatten it, then restore it to its original shape during reassembly. Using a vise or pliers is recommended. Step 5 – Installing the new button Press the element all the way up, only then tighten the screws. If it is not seated correctly, it may cause the device to turn on automatically. After ensuring the element is in the correct position, tighten the screws. Tools needed for assembly: TORX screwdriver (included) Pliers or a small vice (for any metal parts to be adjusted)


 Rambursare în caz de nelivrare